Set up your Raspberry Pi in minutes. I will show you how to install Raspberry Pi OS, wifi, and SSH, all without plugging your Pi into a mouse, keyboard, or monitor. Just follow these simple instructions and you'll be up and running in no time!
June 1st, 2022
# raspberry pi
Even if you have an extra mouse, keyboard, or monitor, I find the headless setup to be the fastest and most hassle-free. The Raspberry Pi Foundation has made it super easy with their Raspberry Pi OS Imager. Follow this tutorial and you'll have your Pi up and running in a few short minutes.
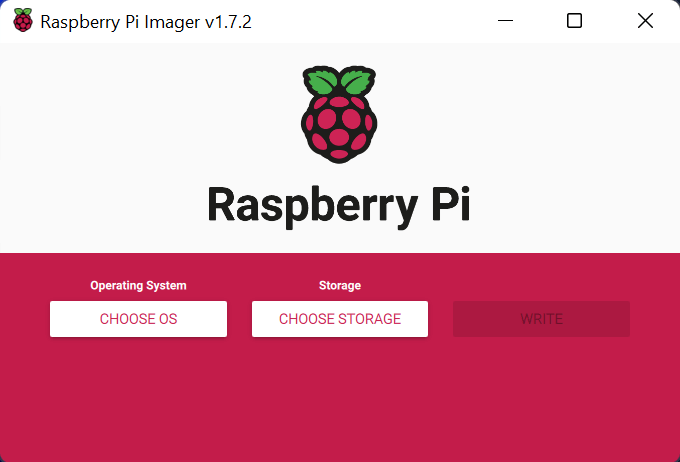
Download and install the Raspberry Pi OS Imager. They support Mac, Windows, and Ubuntu. Run it and it should look like this.
Select "CHOOSE OS" then "Raspberry Pi OS (32-bit)". If you have a Raspberry Pi 3 or higher and would like to install the 64-bit version, select CHOOSE OS → Raspberry Pi OS (other) → Raspberry Pi OS (64-bit).
Insert your Micro SD card into your Micro SD card reader. Then select "CHOOSE STORAGE" in the Imager. You should see your Micro SD card listed. Select that. Be sure you select the right storage device, as this process will wipe the card's preexisting data.
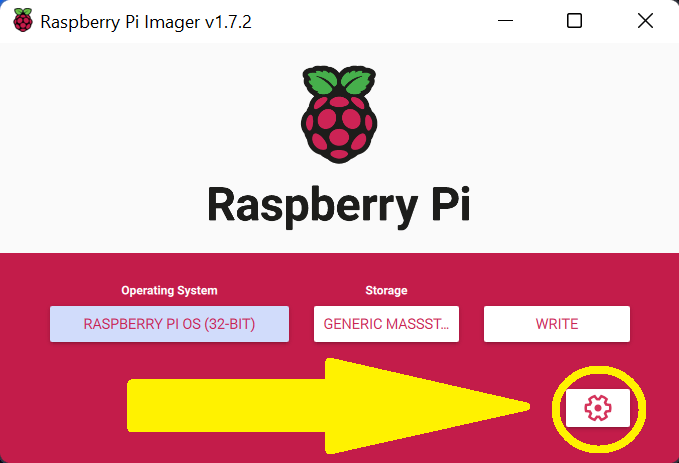
After you select an OS and storage device, a gear should appear on the Imager screen (see above). Click the gear to open the advanced options menu.
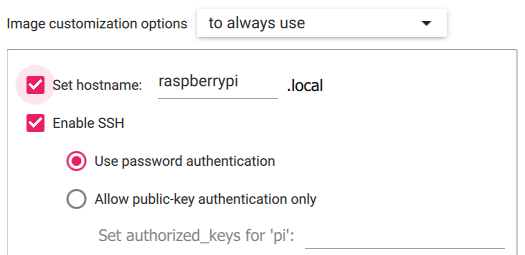
Set a hostname and enable SSH. The hostname makes using SSH easier. SSH is a way to securely log into one computer from another. In this case, you can SSH into your Raspberry Pi and control remotely using another computer. Very cool stuff! Here's the command you'll use in the terminal of your computer:
ssh USERNAME@HOSTNAME
dTESx4343t63GD@sdfDYT3235DQ every time.
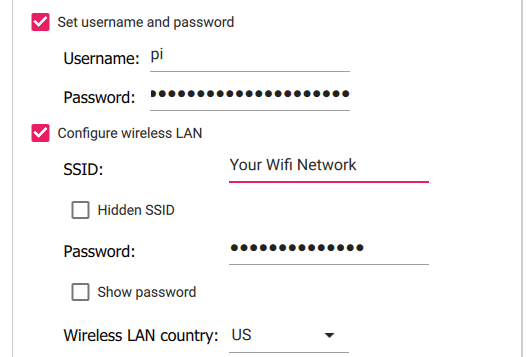
Now we set username, password, and wifi. Remember what I just said about username above? Just please don't pick "pi" for your username. That used to be the default for every Raspberry Pi, but as you can imagine, that causes a security risk. If every Pi is pi@raspberrypi, hackers have a much easier time discovering devices. Feel free to pick an easy username, but please don't pick "pi".
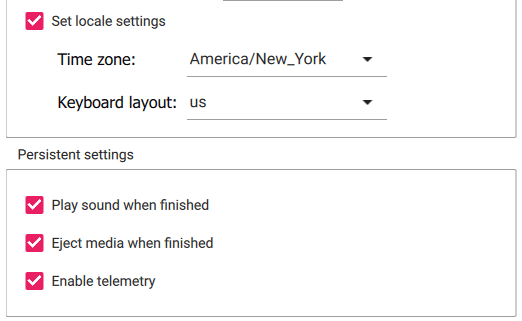
Finally, set your local and choose your Persistent settings. If you're wondering about Enable telemetry it means you're okay sharing which operating system you selected with the Raspberry Pi Foundation. It's actually pretty cool. You can see all the stats they collected on this website. Raspberry Pi OS (other) is the most popular with 38.09% of downloads today (June 1st, 2022).
Hit save
Hit "WRITE". This takes five to ten minutes. Once it's finished, plug the SD card into your Raspberry Pi and you'll be all set up!