Copy the url of the raw text and go back to your terminal. Run the following commands:
For some strange reason, Tensorflow is hard to install on the Raspberry Pi. In this tutorial, I break down each step into bite-sized chunks so you can start your machine learning journey
June 9th, 2022
raspberry pi
machine learning
If you haven't set up your Raspberry Pi yet, you can follow my tutorial for that here.
.whl fileOpen a terminal to your Pi. You can do this with SSH or directly on your Pi as a desktop. First, let's update your pi with the following code:
sudo apt update
sudo apt upgradeuname -m
cat /etc/os-release
python -V
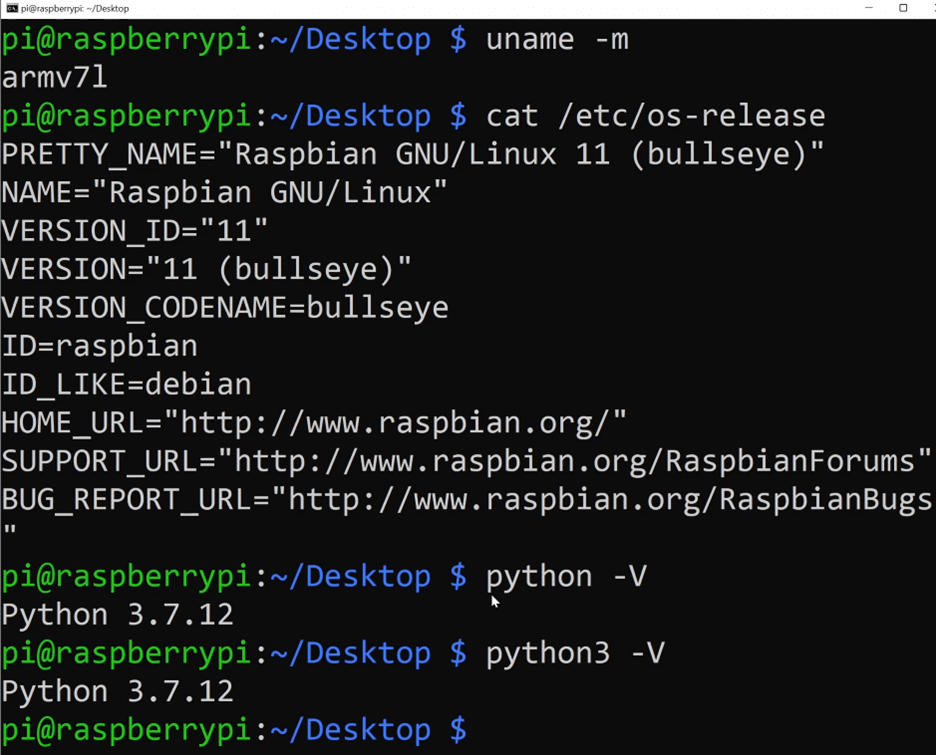

2.5.0 = Tensorflow version cp37 = Python version 3.7armv7l = Architecture (uname -m)
armv7l architecture. This means you need to downgrade your Python version to 3.7, or upgrade your architecture to the 64-bit aarch64. You can follow my tutorial for downgrading your Python version here
.sh file that works for you, open it and we'll come back to it.
Back in your terminal, make a project directory. This is optional.
cd Desktop
mkdir project
cd project
python -m venv env
env/bin/activate
env at the start of your terminal line.

sudo apt-get install -y libhdf5-dev libc-ares-dev libeigen3-dev gcc gfortran libgfortran5 libatlas3-base libatlas-base-dev libopenblas-dev libopenblas-base libblas-dev liblapack-dev cython3 libatlas-base-dev openmpi-bin libopenmpi-dev python3-dev
pip install -U wheel mock six
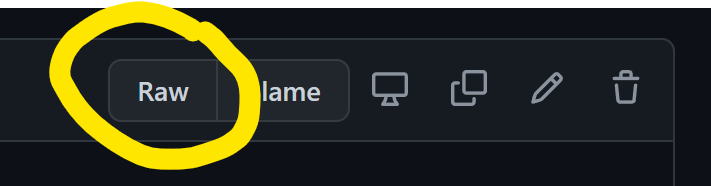
Go back to the Github page with the wheel file that is compatible with your system. You should see a buttom that says "Raw" or "View Raw". Click that.
Copy the url of the raw text and go back to your terminal. Run the following commands:
wget [THE RAW FILE URL YOU COPIED]
sudo chmod +x [FILENAME YOU COPIED]
./[FILENAME YOU COPIED]
sudo pip uninstall tensorflow
pip uninstall tensorflow.whl file. Type ls to list the files in your directory and look for a file with a name like tensorflow-[VERSION].whl. VERSION will be a Tensorflow version like 2.5.0. Copy that filename. Replace tensorflow-[VERSION].whl in the code below with the filename you copied.
exec $SHELL # restarts the terminal
source env/bin/activate # reactivate the virtual env
Restart the shell and reactivate your virtual environment
exec $SHELL
source env/bin/activate
python
import tensorflow
tensorflow.__version__
quit()
hdf5 warning, refer to 6:55 in the video for how to resolve the issue.