DHCP Reservation.
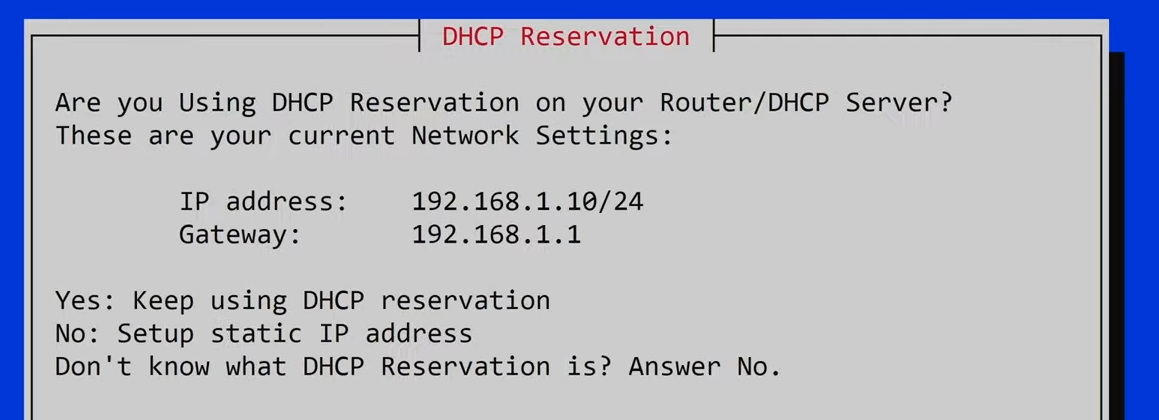 This step varies for everyone depending on your router. So if you're not sure how to do the following two things, I suggest Google.
Browse the internet privately or access your home files from anywhere with this Raspberry Pi Tutorial.
October 5th, 2022
raspberry pi
A VPN acts as an encrypted middleman for your internet traffic. Rather than going directy from your computer to the internet service provider to the desired website, you instead go computer to the ISP to the VPN, back to the ISP, and then to the desired website. This allows you to access files remotely or disguise and secure your internet traffic.
If you haven't set up your Raspberry Pi yet, you can follow my tutorial for that here.
Open a terminal to your Pi. You can do this with SSH or directly on your Pi as a desktop. First, let's update your pi with the following code:
sudo apt update
sudo apt upgradecurl -L https://install.pivpn.io | bash
Continue through the prompts until you see DHCP Reservation.
This step varies for everyone depending on your router. So if you're not sure how to do the following two things, I suggest Google.
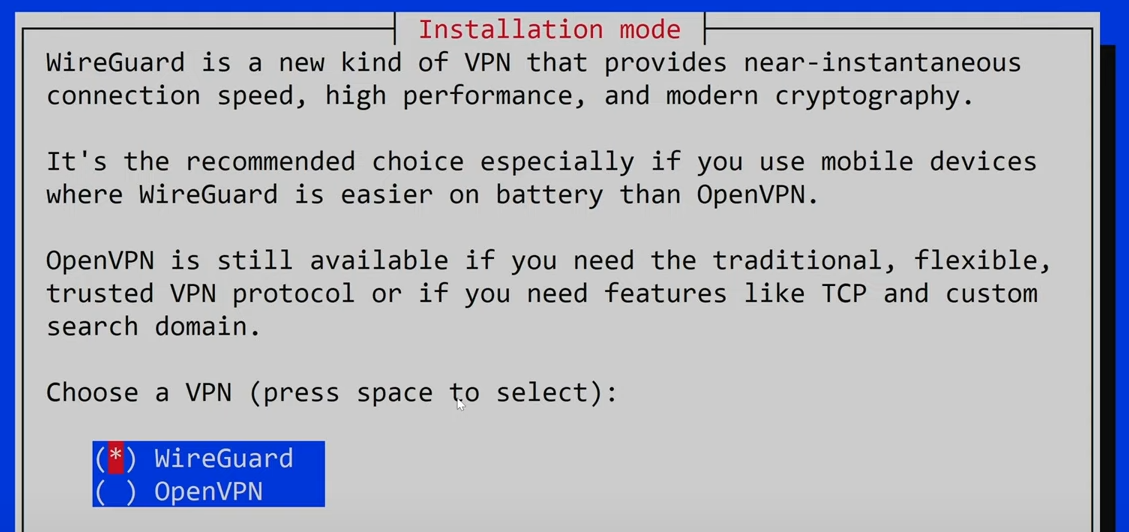 I won't go into the intricate differences between the two. OpenVPN is older and has more users, but WireGuard is newer and a much faster and smoother experience. I use WireGuard.
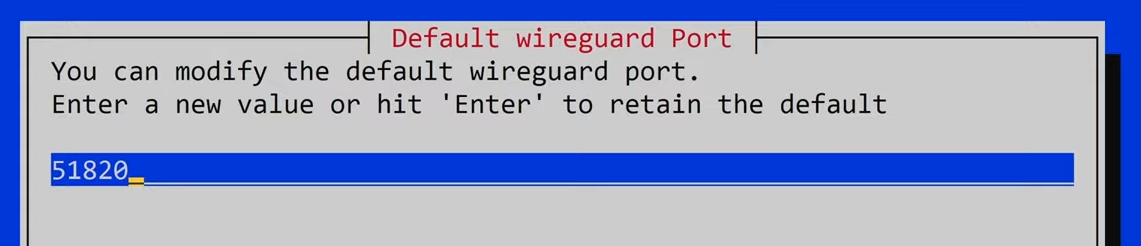 You can leave the default port, but changing it would add extra security. If WireGuard gets hacked, the hacker will look for anything on port 51820. This is because port 51820 is the default port for WireGuard, so the hackers would have access to anything on that port. If you change your port, you can use any numbers between
 49152-65535
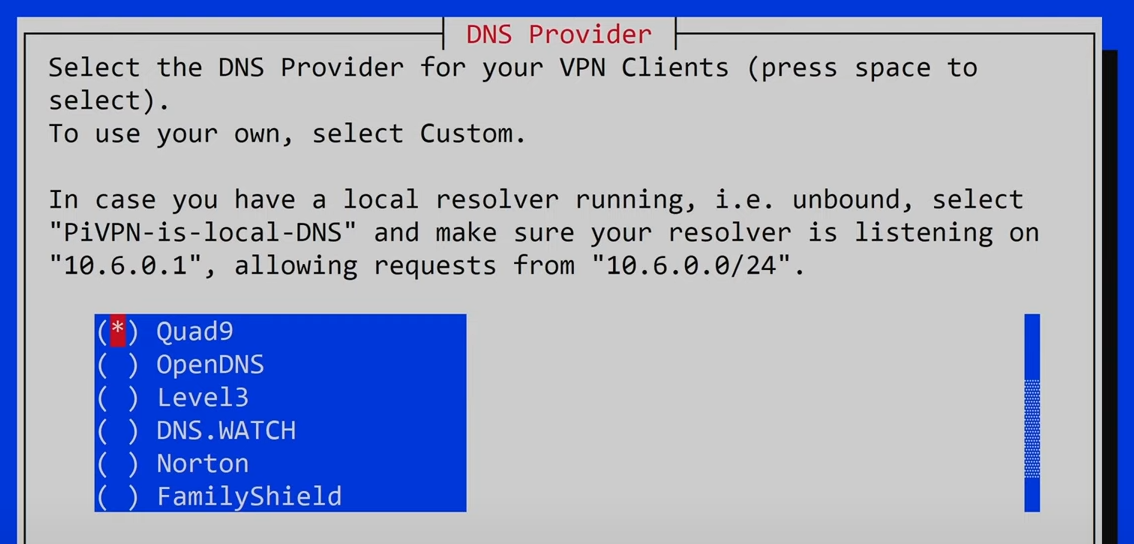 Next, choose your DNS provider. Quad9, the default, is a free and open source provider. I have used them and have no complaints.
pivpn addphonepivpn -qr to generate a QR code.
In you Pi, type:
sudo nano /etc/sysctl.confnet.ipv4.ip_forward=1
net.ipv6.conf.all.forwarding=1Ctrl+S to save and Ctrl+X
Next we need to let our router know what we're doing. This process is specific to your router so please Google - "port forwarding for my ______ router"
Create a custom service. I call mine VPN. Then you will have options for TCP or UDP protocols. Use the UDP protocol.
Open the WireGuard app on your phone and turn on you VPN. You are now tunneling through your Raspberry Pi! If you have any questions feel free to leave a comment on the YouTube video I linked above. I try to read every comment.